Understanding URL Parameter Interpolation
Introduction
URL Parameter Interpolation lets you insert dynamic, context-specific values into a URL. In Procore embedded applications, this is how you make your app respond to the current company or project context without hardcoding values.
This is commonly used in HTTP GET requests, where data is passed in the URL. Interpolation makes these values dynamic-changing based on the user’s context or custom setup.
Where Interpolation Works in Procore
You can use interpolation when defining a component in the Developer Portal in the following parts of a URL:
- Subdomain
- Path parameters
- Query parameters
This is most common in HTTP GET requests, where data is passed in the URL.
Examples
Subdomain: Pass a value into the subdomain dynamically.
https://{{subdomain}}.domain.com
Path Parameters: Insert dynamic values directly into the path.
https://example.domain.com/{{my_path1}}/{{my_path2}}
Query Parameters: Send company or project context (and more) as query string values.
?companyId={{procore.company.id}}&projectId={{procore.project.id}}&customField={{CustomField}}
Built-in Variables
Procore provides built-in variables you can use in query parameters to automatically pass context:
procore.company.id– ID of the company where the app is installedprocore.company.name– Name of that companyprocore.project.id– ID of the project where the app is usedprocore.project.name– Name of that project
Why use them?
These variables save time and prevent mistakes. For example, use procore.project.id to fetch project-specific data from your system without asking the user to enter it.
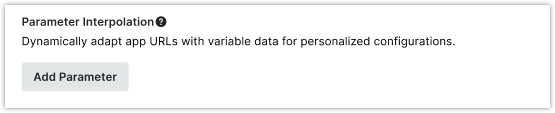
Custom Parameters
You can also create your own parameters to meet specific needs. These are defined by the installer during app setup and can be required or optional.
Common use cases:
- Link to a device ID (e.g., drone, camera).
- Pass a subscription or user ID.
- Set a region or locale for the app.
How to Add Custom URL Parameters
-
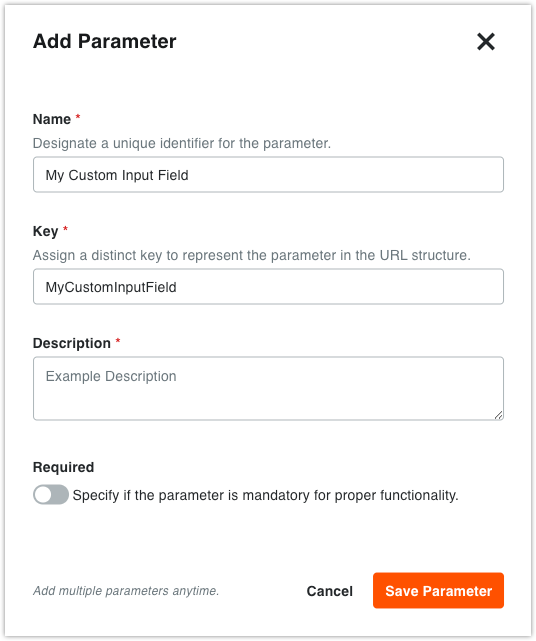
In your component configuration, click Add Parameter.
-
Define the Name, Type, Key, and Description.
-
Mark the parameter as Required (or leave it optional) for installation.
-
Click Save Parameter.
Once saved, your custom parameter can be used in the URL the same way as built-in variables—helping your app deliver the right data in the right context.